The fastest test for a used microphone is to turn the gain up with nothing playing and listen. A working mic has a steady, low hiss. A failing one crackles, hums at 50/60 Hz, or drops out when you wiggle the cable. Then tap the body gently and listen for a rattle — that’s a loose capsule, and it’s the fault sellers never mention.
Microphones are the easiest gear to fake and the hardest to repair. A capsule replacement on a large-diaphragm condenser runs $150-$400, which on a $250 used mic is a total loss. Ten minutes of testing is worth more here than anywhere else in the signal chain.
What should you test first, and in what order?
- Physical: grill dents, bent body, missing grille mesh, corroded XLR pins, and any smell of smoke.
- Rattle test: hold the body and tap the side of the headbasket with a fingernail. A dull rattle is a loose capsule or a detached shock mount.
- Cable wiggle: with the mic live, flex the XLR connector in all directions. Any crackle is a broken solder joint, $10-$30 to fix or a total loss on a sealed body.
- Noise floor: gain at 80%, nothing playing, listen on headphones for 30 seconds. Hiss is normal, hum and crackle are not.
- Phantom power: for condensers, run on 48V and check that the mic doesn’t pop, whistle or motorboat.
- Compare: same source, same gain, against a mic you trust. Level differences over 3 dB suggest a tired capsule.
If the seller won’t let you plug it in, price it as broken.
Which mics are worth testing hardest?
| Type | Used price | Failure mode | Repairable? |
|---|---|---|---|
| Dynamic (SM58, e835) | $55-$95 | Dropped, dented grille, dead coil | Often yes, $30-$60 |
| Large condenser | $150-$700 | Capsule contamination, diaphragm sag | Capsule swap, $150-$400 |
| Small condenser / pencil | $80-$300 | Capsule damage, body thread wear | Sometimes |
| Ribbon | $200-$900 | Stretched ribbon from phantom power | Ribbon re-ribbon, $100-$250 |
| Wireless handheld | $120-$600 | Battery corrosion, capsule mismatch | Depends on spare parts |
Ribbon mics deserve a note: phantom power can destroy a ribbon in seconds. Any ribbon mic sold used should be tested with phantom off only, and you should ask whether it was ever plugged into a desk with phantom left on.
How do you test a wireless handheld?
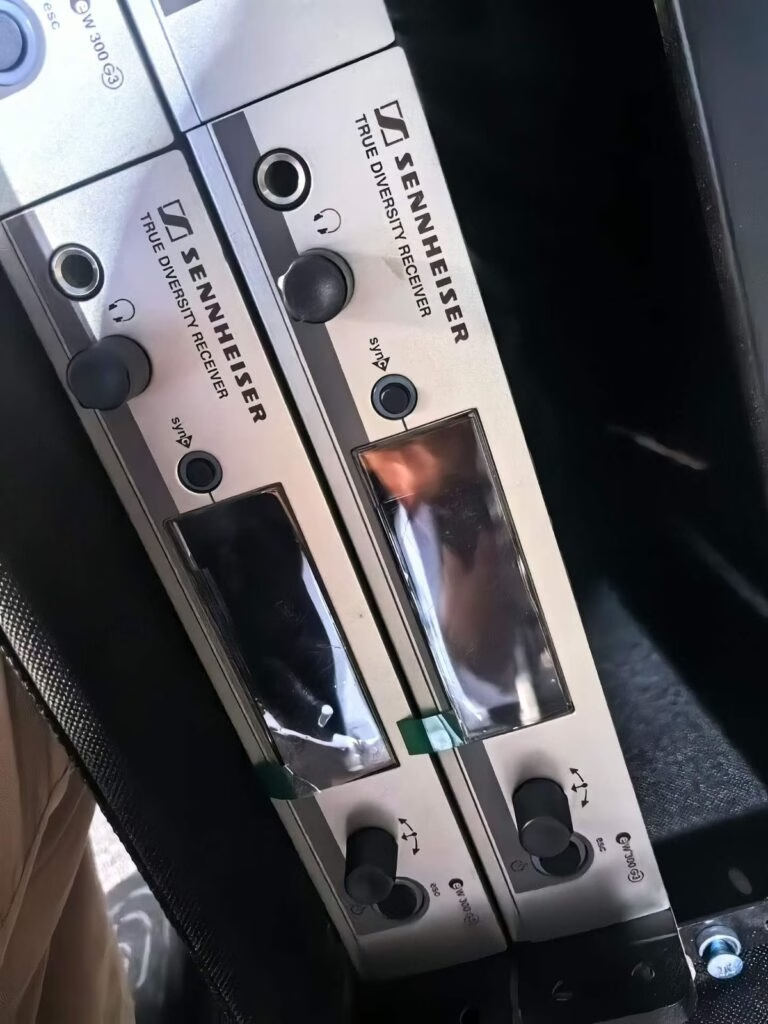
You need the receiver, not just the mic. Check that the mic and receiver are on the same band, that the frequency can be set to a legal channel in your country, and that the capsule matches (a Shure capsule on a non-Shure body, or vice versa, is common in Chinese resale stock and some pairs don’t fit). Then walk 30 metres with the transmitter and listen for dropouts. Battery corrosion in the body is a warning sign of water or long storage.
What about buying mics sight-unseen from overseas?
Two things protect you: a photo of the capsule through the grille (you can see dents and contamination) and a recording. Ask for 30 seconds of spoken word at a fixed distance. Any seller of 50+ units a day can produce that quickly, and a seller who can’t is hiding something.
Mics are also the cheapest thing to add to a speaker order. If you’re already buying an K-array KF12 self-powered speaker or twelve, adding a box of tested dynamics costs almost nothing in freight. Always test them on arrival anyway.
Key Takeaways
- The one test that matters: high gain, no source, 30 seconds of listening. Hiss is fine, hum and crackle are not.
- Tap the headbasket for rattle and wiggle the XLR live — loose capsule and cold solder joints are the two silent killers.
- Ribbon mics and phantom power do not mix. Ask before you plug in.
- Skip any mic you can’t plug in; price it as broken, not as working.